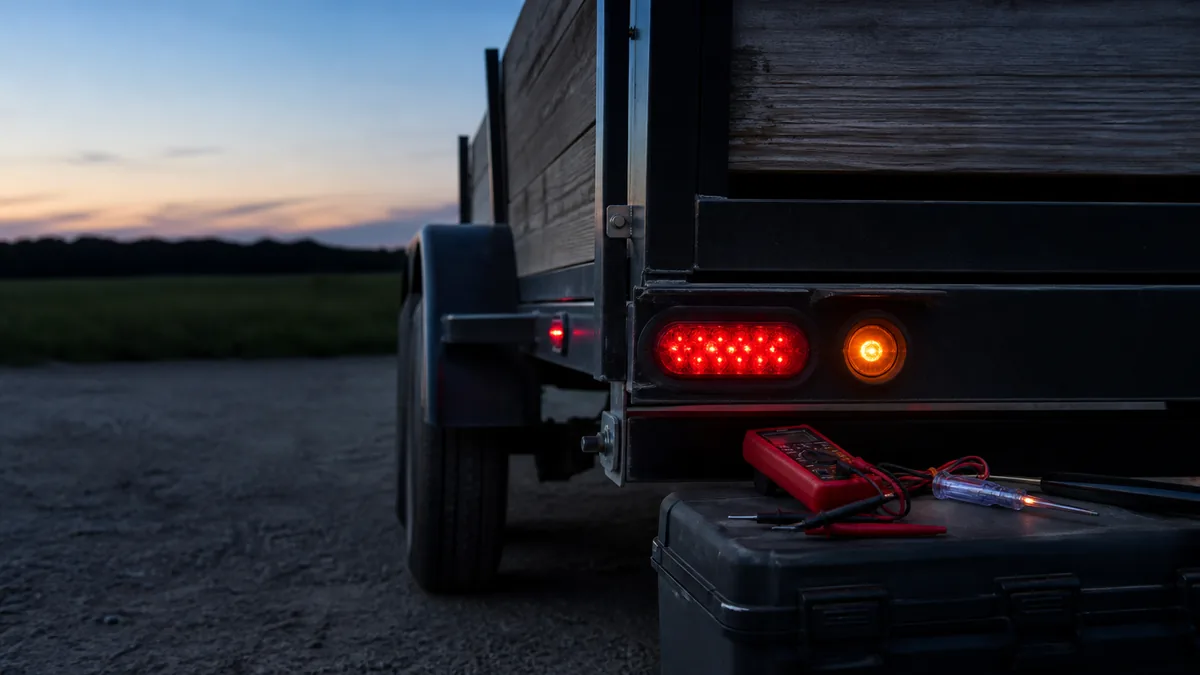
LED trailer lights can expose faults that incandescent lamps hide, but the LED itself is not automatically the cause. A vehicle module may monitor load, a converter may shape the output, a connector may lose a return under load, or a sealed fixture may have failed. Start with the exact symptom and isolate the source before adding a resistor or replacing a lamp.
Safety limit: Secure the combination, avoid bridging contacts, and follow the vehicle, converter, lamp, and connector instructions. Do not bypass protection, energize an unknown circuit, or tow with required lighting unresolved.
Describe the exact LED symptom and vehicle context
Record which function fails, whether the trailer is connected, whether the symptom changes with another function, and what changed recently. “LED lights not working” is not one fault. No output, hyperflash, glow while off, dimness, flicker, and one-side failure have different owners.
| Symptom | First question | Do not infer |
|---|---|---|
| One side dark | Does the matching vehicle output work disconnected? | That the sealed fixture failed |
| Hyperflash or bulb-out warning | Did it begin after an LED retrofit or converter change? | That an arbitrary load resistor is safe |
| Glow while off | Is the command truly off and is the return shared? | That normal lamp power is present |
| Dim or flickering | Does it occur only under load or with another function? | That a brighter lamp fixes resistance |
| Everything fails | Does the vehicle output pass with the trailer disconnected? | That every LED unit failed |
Also record the tow vehicle year, make, model, factory or aftermarket tow wiring, converter or module part number, connector and adapter family, lamp part numbers, and whether the trailer previously used incandescent lamps. Note whether the symptom occurs with the ignition off, accessory mode, engine running, vehicle locked, headlights on, brake applied, hazards active, or another trailer function operating. These states matter because the tow vehicle may command, monitor, or pulse the circuit differently in each one.
Separate a new symptom from a long-standing one. If hyperflash began immediately after an LED retrofit, compatibility belongs high on the list. If the same lamps worked for months and then one side became intermittent, a contact, splice, return, or fixture fault may be more plausible. Neither pattern proves a cause; it sets the first controlled test.
Rule out basic connector and ground faults
Disconnect the trailer before testing a vehicle-side lighting output. Identify the connector family and view with the pinout lookup, then activate one documented function at a time. If the matching output fails disconnected, remain on the vehicle module, fuse, converter, switch, and harness path. The LED fixture cannot repair an absent source.
If the vehicle output passes, inspect the mating contacts, adapter, plug strain relief, and trailer-side cable. Test the same function at the trailer boundary before opening a lamp. A failure that appears only after the connector points to contact, branch, fixture, or return evidence; it does not automatically prove a compatibility problem.
Use the trailer-plug testing procedure to record the connector half, viewing direction, command state, reference, and result. Test left and right stop/turn outputs independently. A working right side does not prove the left-side contact or branch, and a working tail function does not prove either combined stop/turn circuit.
When the symptom appears only under load, test the feed and return while reproducing it. Compare the last working boundary with the first failed boundary. A static continuity beep or open-circuit voltage can coexist with a connection that cannot support the operating load. If activating a second function causes dimming, cross-lighting, or flicker, follow the ground troubleshooting procedure before condemning the LED fixture.
Identify converter or lamp-monitoring interactions
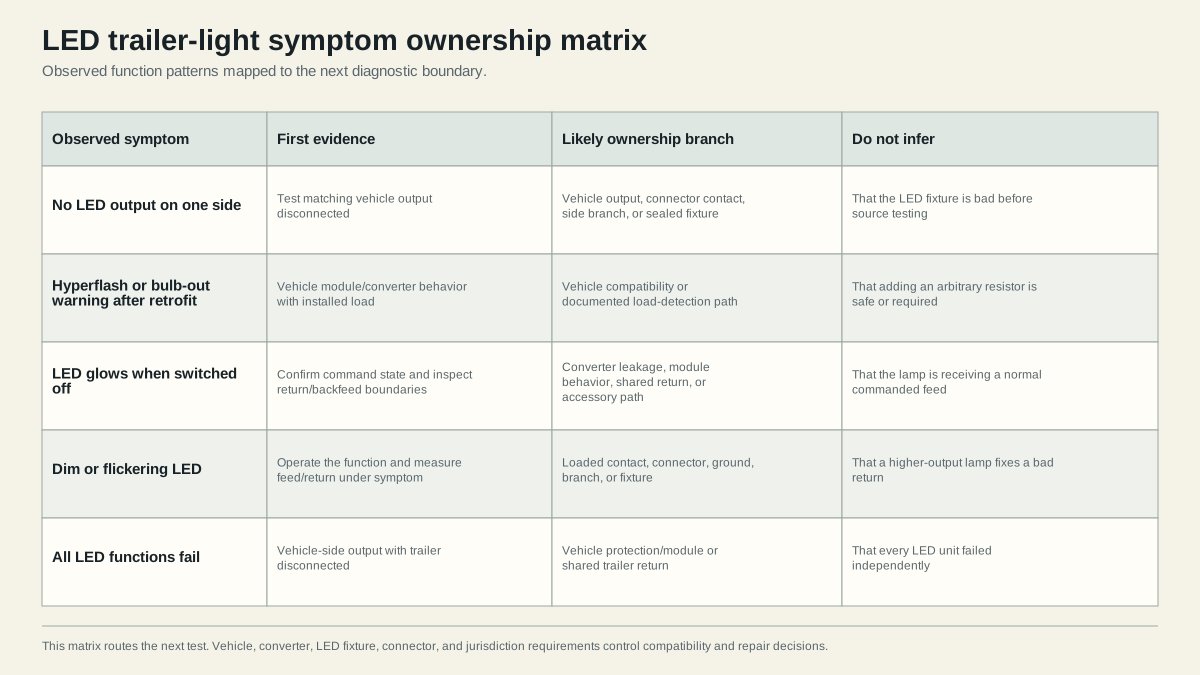
Hyperflash or a bulb-out warning can reflect the vehicle’s monitoring strategy, converter requirements, or an incompatible retrofit. Use the vehicle or converter documentation to determine whether LED compatibility is supported and what correction, if any, is approved. Do not install a generic resistor without confirming heat, protection, mounting, and product requirements.
CURT documents that different converter families exist for different vehicle signal architectures, including PWM/multiplex applications. That is evidence that “a converter” is not one interchangeable component. Identify the installed converter and its supported vehicle and trailer lamp types before replacing it or adding another device.
An OEM example shows why the vehicle context must remain explicit. A General Motors technical service bulletin hosted by NHTSA describes certain vehicle/trailer-lighting-module combinations where LED trailer lamps can flash as part of trailer detection or theft-deterrent behavior. The bulletin’s remedy and limitations are vehicle-specific. It does not establish that every off-state flash is normal, and it does not authorize applying the same adapter or software remedy to another vehicle.
An LED that glows while off can result from module leakage, backfeed, a shared return, or an accessory circuit. Confirm the command state, disconnect accessories, and inspect the return boundary. Dim or flickering output must be tested while the symptom is present; an unloaded meter reading does not prove a sound feed or ground.
Treat a load device as a product decision
A resistor or LED adapter changes the electrical load seen by the vehicle. It can also create heat, affect diagnostic behavior, and change what a lamp-out system can detect. Use one only when the vehicle, converter, adapter, or lamp documentation supports that solution for the exact circuit. Record its rating, mounting requirement, protection, and expected effect, then verify the circuit in every relevant vehicle state.
Do not use a load device to hide an open ground, corroded connector, damaged converter, wrong pinout, reversed polarity, or failed required lamp. If a proposed correction makes the warning disappear but the lamps remain intermittent or the wiring heats, the system has not passed.
Verify required lamp operation with compatible equipment
After a repair, repeat the original symptom test and operate every required lighting function. Confirm the fixture’s polarity, connector assignment, sealing, mounting, and compatibility with the vehicle module or converter. Required lighting also has jurisdiction-specific placement and performance requirements; a lamp that illuminates in the driveway is not automatically compliant.
Use a repeatable acceptance record:
- Reconnect the same vehicle, connector, adapter, and trailer configuration used during diagnosis.
- Repeat the vehicle states that originally triggered the symptom.
- Operate tail/running, left stop/turn, right stop/turn, hazards, and any other required lighting independently and in relevant combinations.
- Observe the vehicle display or trailer-detection status as well as the lamps.
- Inspect repaired connections after operation for looseness, moisture entry, abnormal heat, or disturbed strain relief.
- Record unresolved behavior and the exact manufacturer instruction that controls it.
A pass means the required lamps operate consistently in the relevant states, the vehicle and converter report the expected condition, no connection overheats or loses contact, and the installed equipment remains within its documented use. “The warning went away” or “the lamp is bright” is not enough by itself.
Stop for heat, arcing, repeated protection operation, damaged insulation, an unknown connector assignment, or a required function that remains intermittent. Record the exact fixture, converter, vehicle, connector, and test state so the next repair does not erase the evidence. Use the trailer-light diagnostic tree when the symptom crosses multiple boundaries.